Holbrook Landcare Network have been offering soil testing services in the area since 2011. This program allows landholders in the South West Slopes & Upper Murray regions of NSW access subsidised or discounted soil tests, and has assisted landholders to become more efficient in managing soil fertility.
Why soil test?
Soil testing is normally undertaken for one of three reasons. Clearly defining the reason why you want to sample is important for getting meaningful results and by only selecting specific tests helps to reduce costs.
- Predictive – what are my nutrient levels? which nutrients do I need and how much?
- Monitoring – have my soil nutrient levels changed over time?
- Diagnostic (trouble-shooting) – is a soil nutrient or constraint the cause of poor crop or pasture growth?
Should I soil test?
If you intend to apply fertiliser or an ameliorant (e.g lime, gypsum) to a paddock then the answer is Yes!
Soil testing gives you an idea of your current nutrient levels to allow you to determine fertiliser rates required to achieve desired crop or pasture production, or soil ameliorant rates required to correct soil constraints such as soil acidity or sodicity that are known to occur in our region. Soil testing can reduce your fertiliser or ameliorant costs by informing you on exactly how much you need to apply.
Trying to diagnose the reason for poor crop or pasture growth? You can either:
- Collect a soil sample and get it analysed at a soil laboratory, or
- Dig a hole with a shovel or Digstick and do some simple in-paddock measurements. Look for things like; root growth, subclover nodulation, compacted soil layers and soil acidity (using a pH kit). A video explaining ways to measure these can be found here.
Tip: If you have areas of good and poor growth in the same paddock, it’s a good idea to sample both areas and compare.
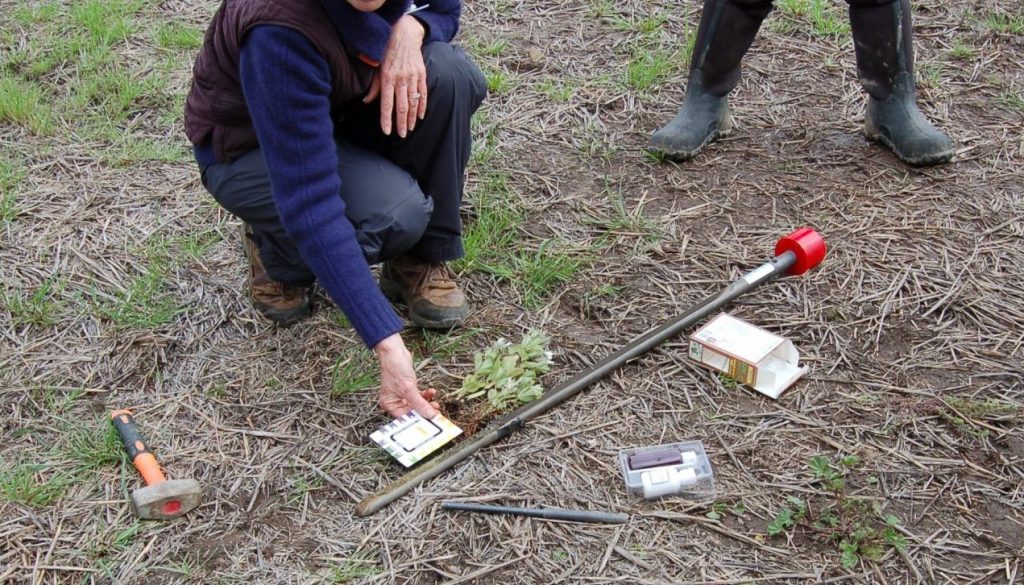
Picture: A Digstick and pH kit is a cheap and efficient method of investigating soil acidity. These are available for members to loan from the HLN office.
When to test?
Soil sampling should be conducted at a time that allows for the sample to be sent away, analysed, and interpreted in advance of the time for recommended treatment. In most situations, this will be at least 4 weeks before fertiliser or ameliorant is to be applied.
Where to test?
Identifying and sampling different zones within a paddock can be valuable in paddocks of high variability. On-ground observations and free online information such as regional soil landscape maps, Google Earth, Sentinel-2 and NDVI satellite imagery can be used to identify differences in plant growth, soil and topography on your farm. Identifying and sampling these different zones can reduce the number soil tests needed.
HLN members have free access to our CSBP’s Decipher Ag Biomass+ subscription that allows you to view NDVI satellite imagery, auto-generate sampling zones, and graph soil properties to monitor trends over time. Interested in becoming a member? Find out more.
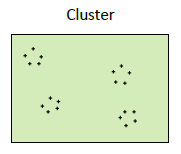
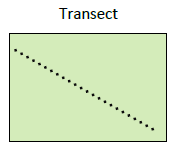
A trial conducted near Holbrook in 2011-13 tested the accuracy of the 3 sampling methods and found no statistical difference between methods when sampling from paddocks of little variability. Cluster or Transect methods are recommended however, for ease and practicality. GPS coordinates of sites can be recorded and easily returned to in following years. Random sampling of paddocks is difficult to repeat and monitor over time.

What depths?
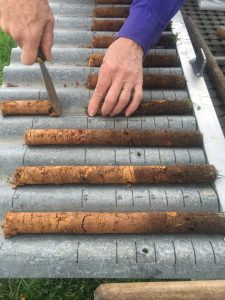
NSW DPI recommend, in some instances, testing certain soil properties (such as pH) at 5cm depth intervals to identify ‘stratified’ layers that are known to occur in our soils and often undetected by 0-10cm or 10-20cm depth samples.
Who does the sampling?
You have the option to either:
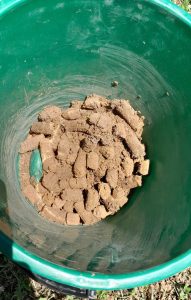
- Collect your own soil samples. HLN will provide you with sample bags and a foot corer (HLN members only) that is capable of sampling at 0-10cm and 10-20cm depths.
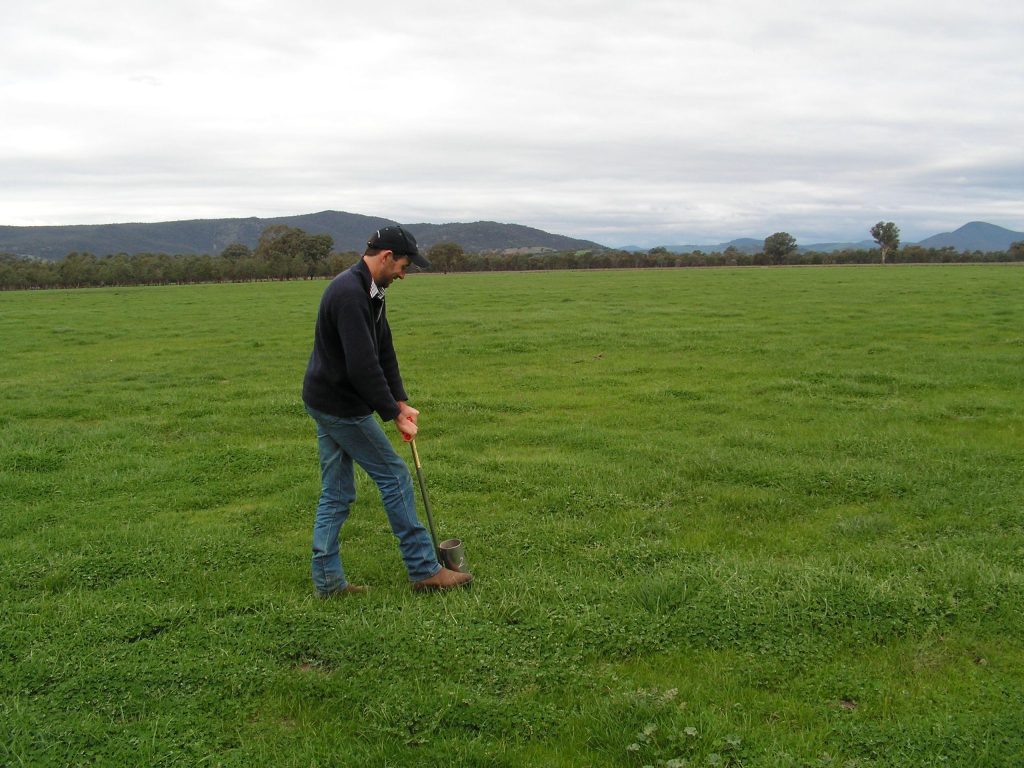
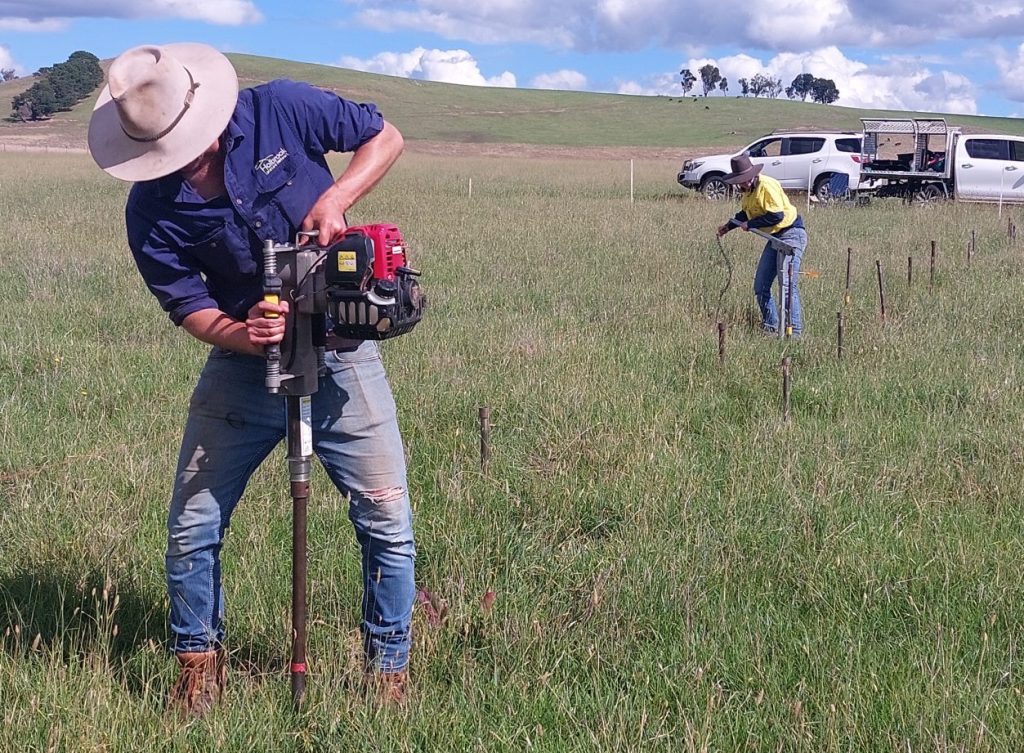
- HLN staff collect your soil samples. HLN staff can come on-farm and collect the samples for you at an additional cost (available for HLN members only). HLN staff can sample 0-10cm depth using a foot corer, or in 5cm intervals down to a depth of 20 or 30cm (or to a maximum depth of 60cm if required) using specialised soil sampling equipment.
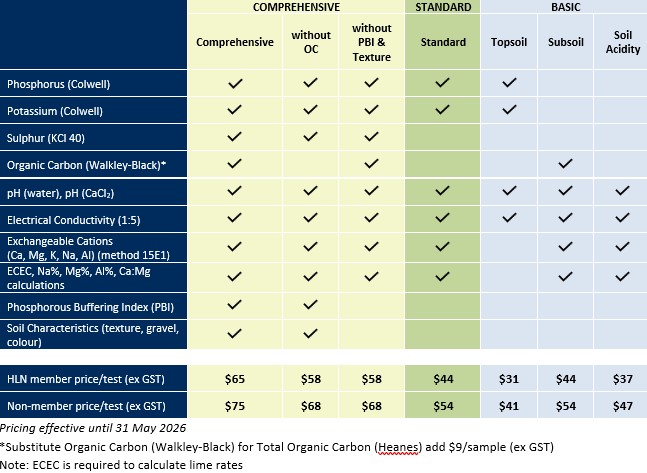
Which tests?
What do the test results mean?
HLN staff can you provide basic interpretation of your soil test results. You may also find the following resources useful for interpreting your results:
- Interpreting Soil Test Results: what do all the numbers mean? (Hazelton and Murphy)
- Australian Soil Fertility Manual (FIFA)
- Explaining Soil Testing Jargon (Jason Condon)
- Phosphorus tool / Five Easy Steps (MLA)
- Soil acidity and liming 4th edition (NSW DPI)
- AGFACTS Soil acidity and liming (Upjohn, Fenton and Conyers)
How do I register?
- Contact the office (call, email or drop in) to register your interest and indicate the number of samples you plan to take.
- Drop by the office and collect soil sample bags, foot corer, registration form and other paperwork.
- After you’ve collected your samples, drop them all back to the office and we’ll take it from there!