On-Farm Water Management
Drought Preparedness & Resilience, Production and Environment

The On-Farm Water Management project will help farmers reduce the impact of drought by preparing and implementing an on-farm water management plan – a plan that determines water needs (stock and domestic) and the capacity to meet these needs through storage (dams, tanks, waterways). Landholders will then be able to undertake proven on-farm design and actions to ensure they have adequate water in the right places across the farm (through storage and reticulation via pipes and troughs). By managing water, drought impacts on livestock, productive pastures, soil and natural assets, will be minimised, and production, both during and recovery after drought will be improved.
These outcomes will be achieved by engaging and encouraging farmers through existing regional networks, such as Holbrook Landcare Network, Irrigated Cropping Council, Western Murray Land Improvement Group, RiverinePlains, to undertake Farm Water Management Planning (FWMP). FWM plans will be developed at workshops and subsequent 1:1 (or small group) follow-up session to finalise the plans. Field days at 10 demonstration sites established across the MLLS region will provide clear examples of proven design options and tangible evidence of the benefits of completing a FWM plan.
The substantive (70-80%) portion of the project is focussed on encouraging and supporting landholders developing FWMPs and 20-30% on the establishment, monitoring, and field days around the demonstration sites.
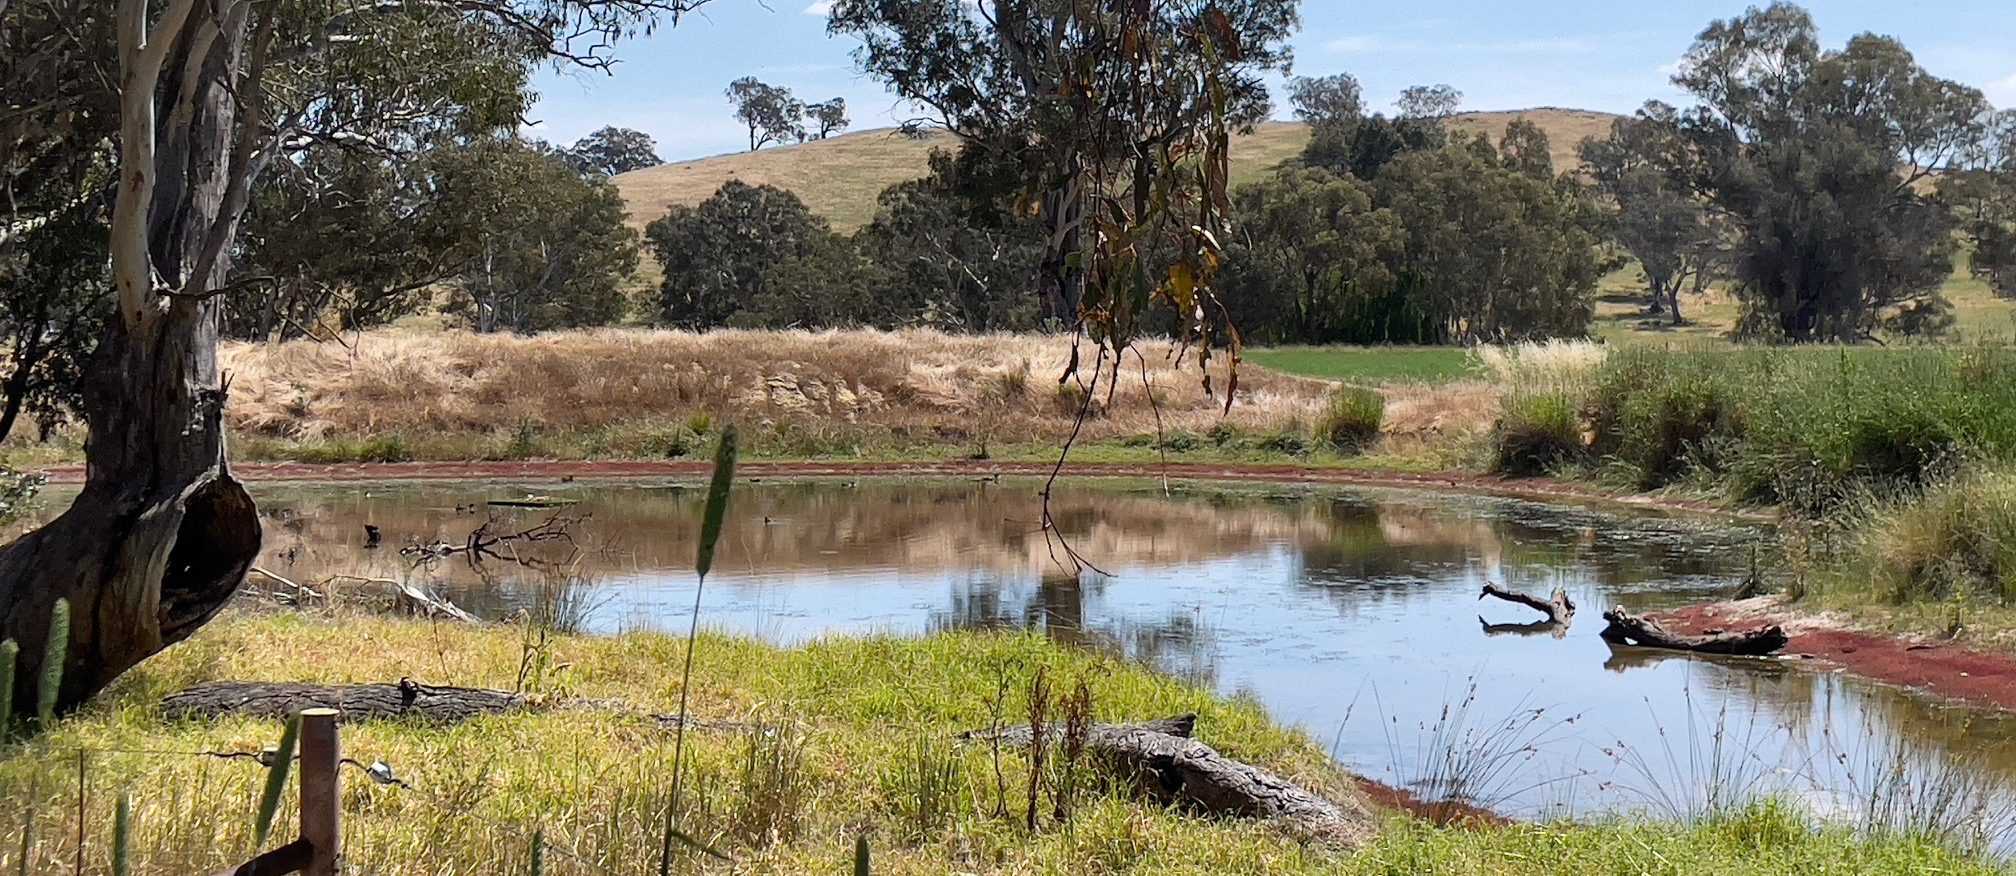
Table Top farmer Marcus Richardson talks about his project to improve the dams on his property.
FREE Farm Water Management Planning Workshops
Join us for the Holbrook Landcare Network’s Farm Water Management Planning Workshops in the Eastern Murray Region!
Prepare for drought with expert trainer Peter Smith from Sapphire Irrigation. Learn to develop a comprehensive plan covering: water storage, supply assessment, and demand estimation for livestock and farm activities.
Utilise Tocal College resources for effective water management and future planning. Don’t miss out on valuable tools to ensure your farm is well-prepared for changes in water availability and requirements.
Two workshop locations available (Tooma and Holbrook). Be drought-ready!
Cool Tool for Estimating the Capacity of your Dam
How do you estimate the capacity of your dam without bringing the tinny out?
When it comes to measuring up your water storage capacity it is crucial for that estimation to be as accurate as it can be, so you don’t get caught short when the tap turns off. If you’re lucky you might know how deep the dam was when it was built – from a scribble in an old notebook, but how can we check it now without pushing the tinny down the bank?
While the surface area of water in the dam can be figure out with a quick walk with a tape measure, our depth is subject to constant change. We lose dam depth from the top through livestock consumption and evaporation, but we also lose it from the bottom up through silting and sedimentation as well.
In light of our upcoming Farm Water Management Planning workshops, we wanted to let you in on a cheap and easy way of measuring the depth of your farm dams. This video (5:11mins) demonstrates Greg Bekker, from Agriculture Victoria, making up and using the homemade DAMDEEP measuring tool to measure the depth of your dam from the ease and comfort of the bank.
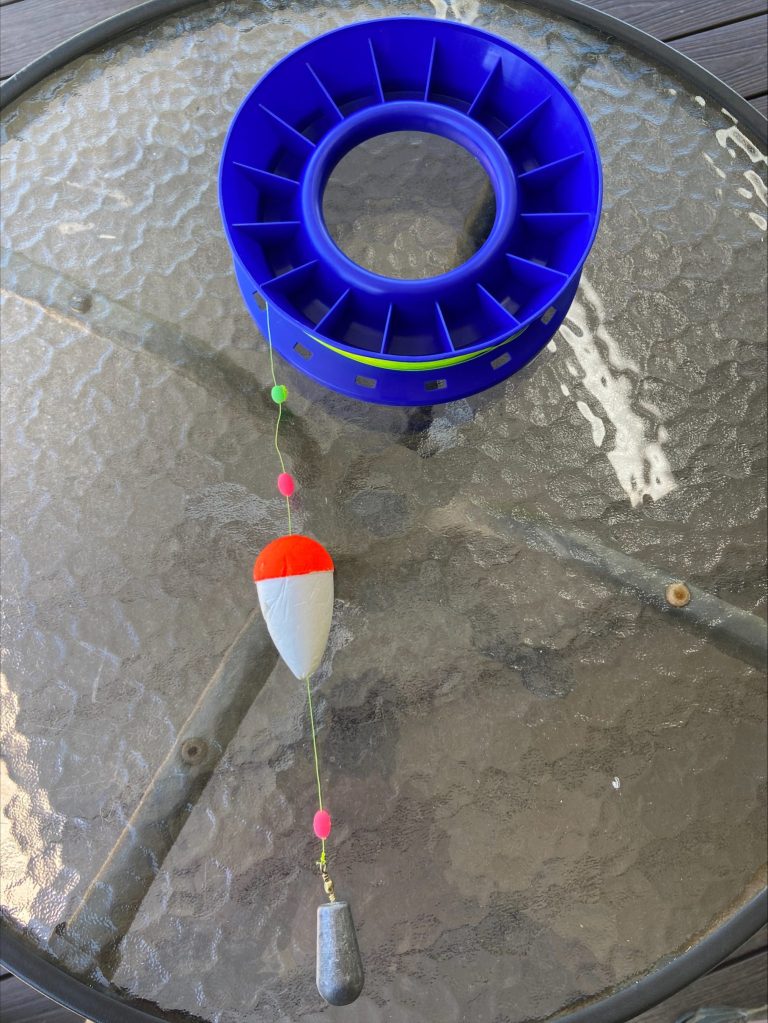
What you will need to make a DAMDEEP measuring tool:
- 10-20lbs mono fishing line
- Lumo beads
- Sinker with Swivel
- Float
- Scissors.
How to make the DAMDEEP measuring tool:
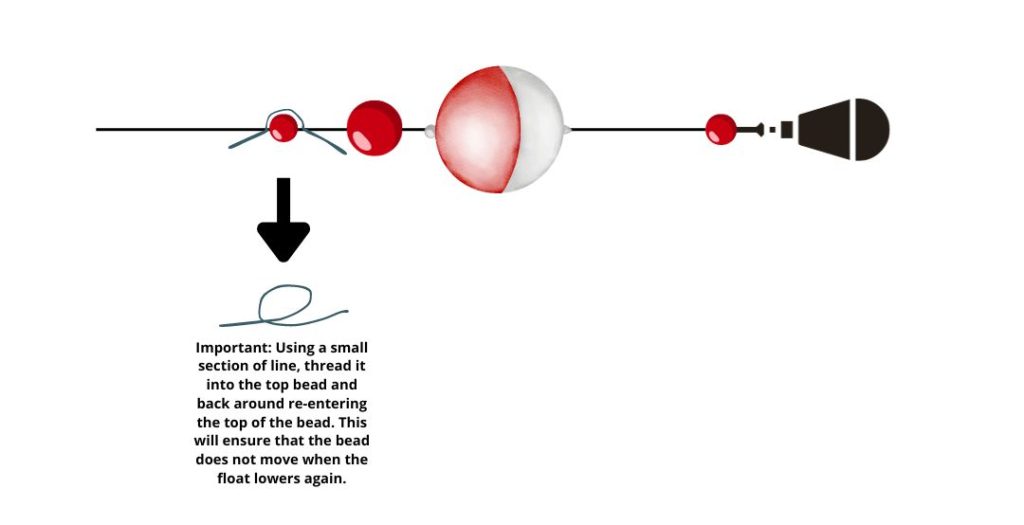
- Thread fishing line through a small lumo bead, then a larger lumo bead, the float, a small bead and finally through the sinker swivel, using a suitable knot to secure the line to the sinker.
- Using a small, spare length of line, thread it through the top of the first bead, come back over the bead and re-thread through the top of the bead again. This ensures that the bead can be pushed by the float up the line – measuring the depth of the dam, and will then also stay at that point when the float goes down. You may need to use a couple lengths of lines/wrap multiple times to achieve the desired tightness around the bead.


Online Resources


